The Key to Drawing Better Blooms
Mar 21, 2024Tried to sketch a realistic-looking flower and hated what you created? Flowers have lots of teeny tiny details (roses, in particular, have up to 40 petals) and it's hard to not only include every nuance but to make it come together in a readable, realistic way. So how do the pros create such clean and believable hand-drawn blooms?
There's a secret. A special little trick that we use. Because we draw A LOT of blooms (you know it).
It's a one word answer to your woes: simplify. Follow our steps below, and then create the floral artwork you're aiming for.
1. Really look
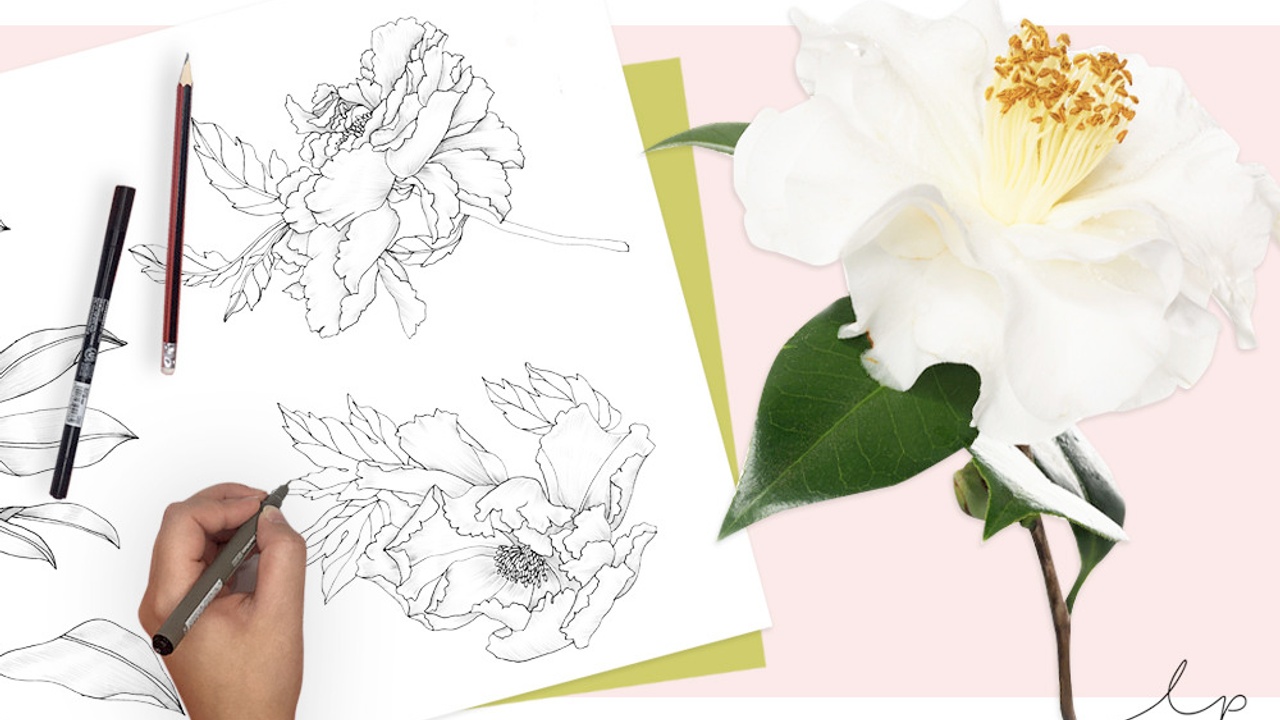
Pick a flower from your garden (or your neighbour's – we won't tell) and focus on it. Look closely at any veins on the petals and notice the direction they’re going in. Do any of the petals fold over or curl up on themselves? Turn it around in your hand to view it from different angles, and take note of the foreshortening of the petals facing towards you.
As you sketch, think about the proportions and structure of the flower. These are the foundations for your bloom, so spend time sketching in the basic shapes before moving on to the details.
TOP TIP: You should always be able to follow the central vein or mid-line of any petal back to the center of the flower (even if you can’t see it, it should be suggested). If your petal is heading off in another direction, even subtly, your flower will look wrong.
2. Edit down the details
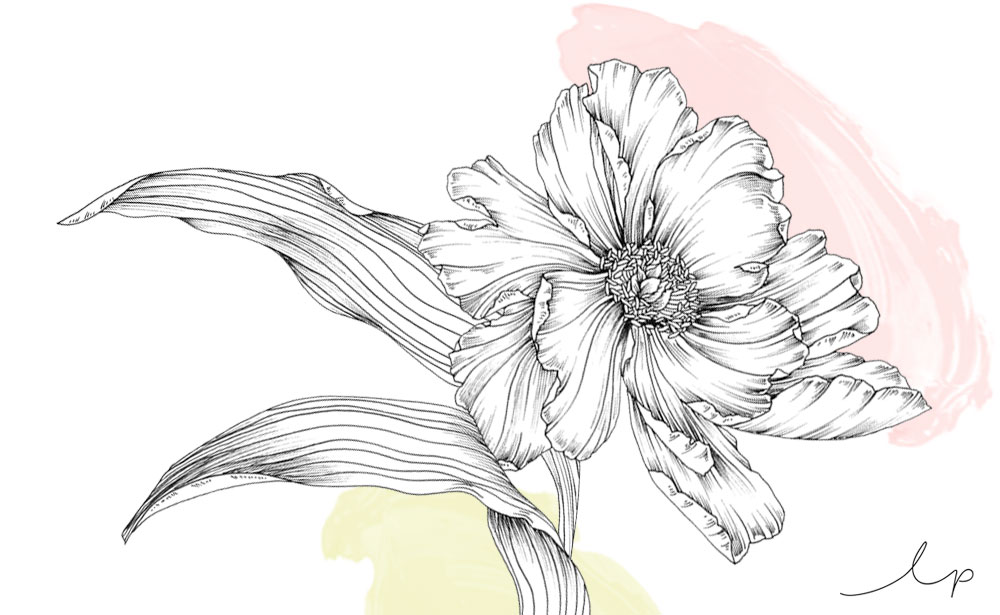
Whether painting or drawing your bloom, don’t try to replicate exactly what you can see. It sounds counter-intuitive, but trust us, getting caught up in drawing every single petal visible to the eye is not worth your time and will end up unprintable (if you don't know what we mean by 'printable,' read here). You need to edit down the details. Create the feel of the flower without including every single line and shadow.
Use your artistic license. For example:
- accentuate some petals and leave out others
- add extra definition by curling petals over
- and capture the direction of the stamen without outlining every single one.

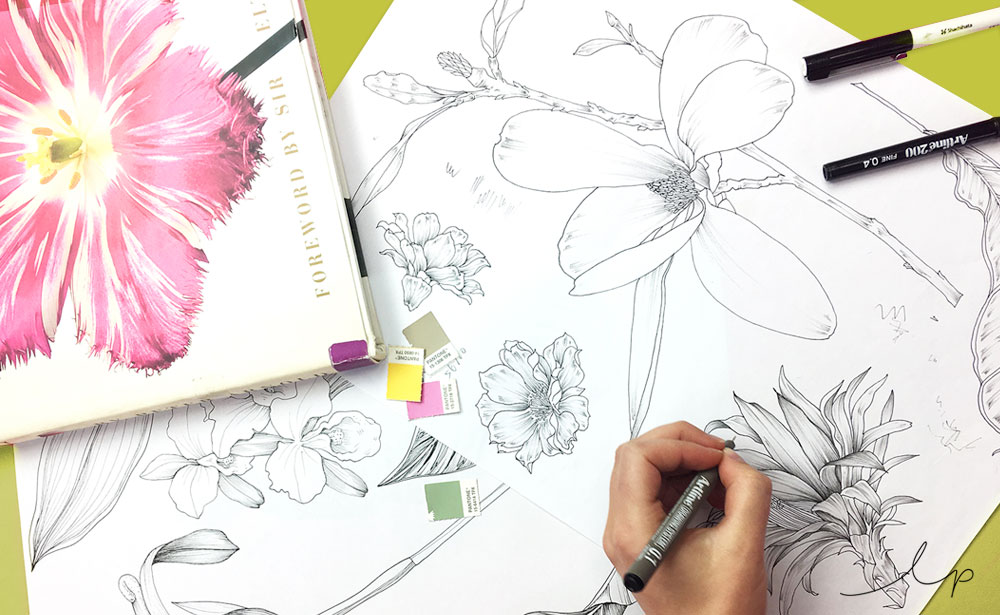
3. Consider the embellishments
Now for the details! But wait, didn’t we just say not to get too detailed? The key here is to only add carefully considered extras that will enhance your artwork and give it a unique feel, without making it too busy. If you overdo it, your artwork can quickly go from screen-print-perfect to an unprintable blob.
Our shortcuts?
- Look at the edges of a flower to see if you can add some identity. Petal edges can be full of subtle, undulating movement. Stylising and accentuating these looks super pretty in a textile design, and is a quick way to add interest.
Finished your flower and ready to take it to the next stage in the surface design process? We recommend Photoshop for Fabric Design: Illustration. Or, do you want a bigger, better run-down of our sketching process? Then you'll want to complete Floral Illustration for Fabric Design.
RELATED
How to create print-ready textile designs
2 Minute Tute: 1 Element 3 Looks
The Surprising Thing You Need In Your Portfolio
Stay connected with news and updates!
Join our mailing list to receive the latest news and updates from our team.
Don't worry, your information will not be shared.
We hate SPAM. We will never sell your information, for any reason.
