Watercolour 101: Don't Do This, Do This!
Aug 04, 2022Written and produced by Morgan, Social Media Coordinator
In this video you’ll learn some incredible watercolor painting tips, the essential do’s and don’ts, from our talented artist and designer Bec. These skills are ideal for beginners and for anyone who needs a good refresher.

You can also paint alongside Bec as you watch this video.
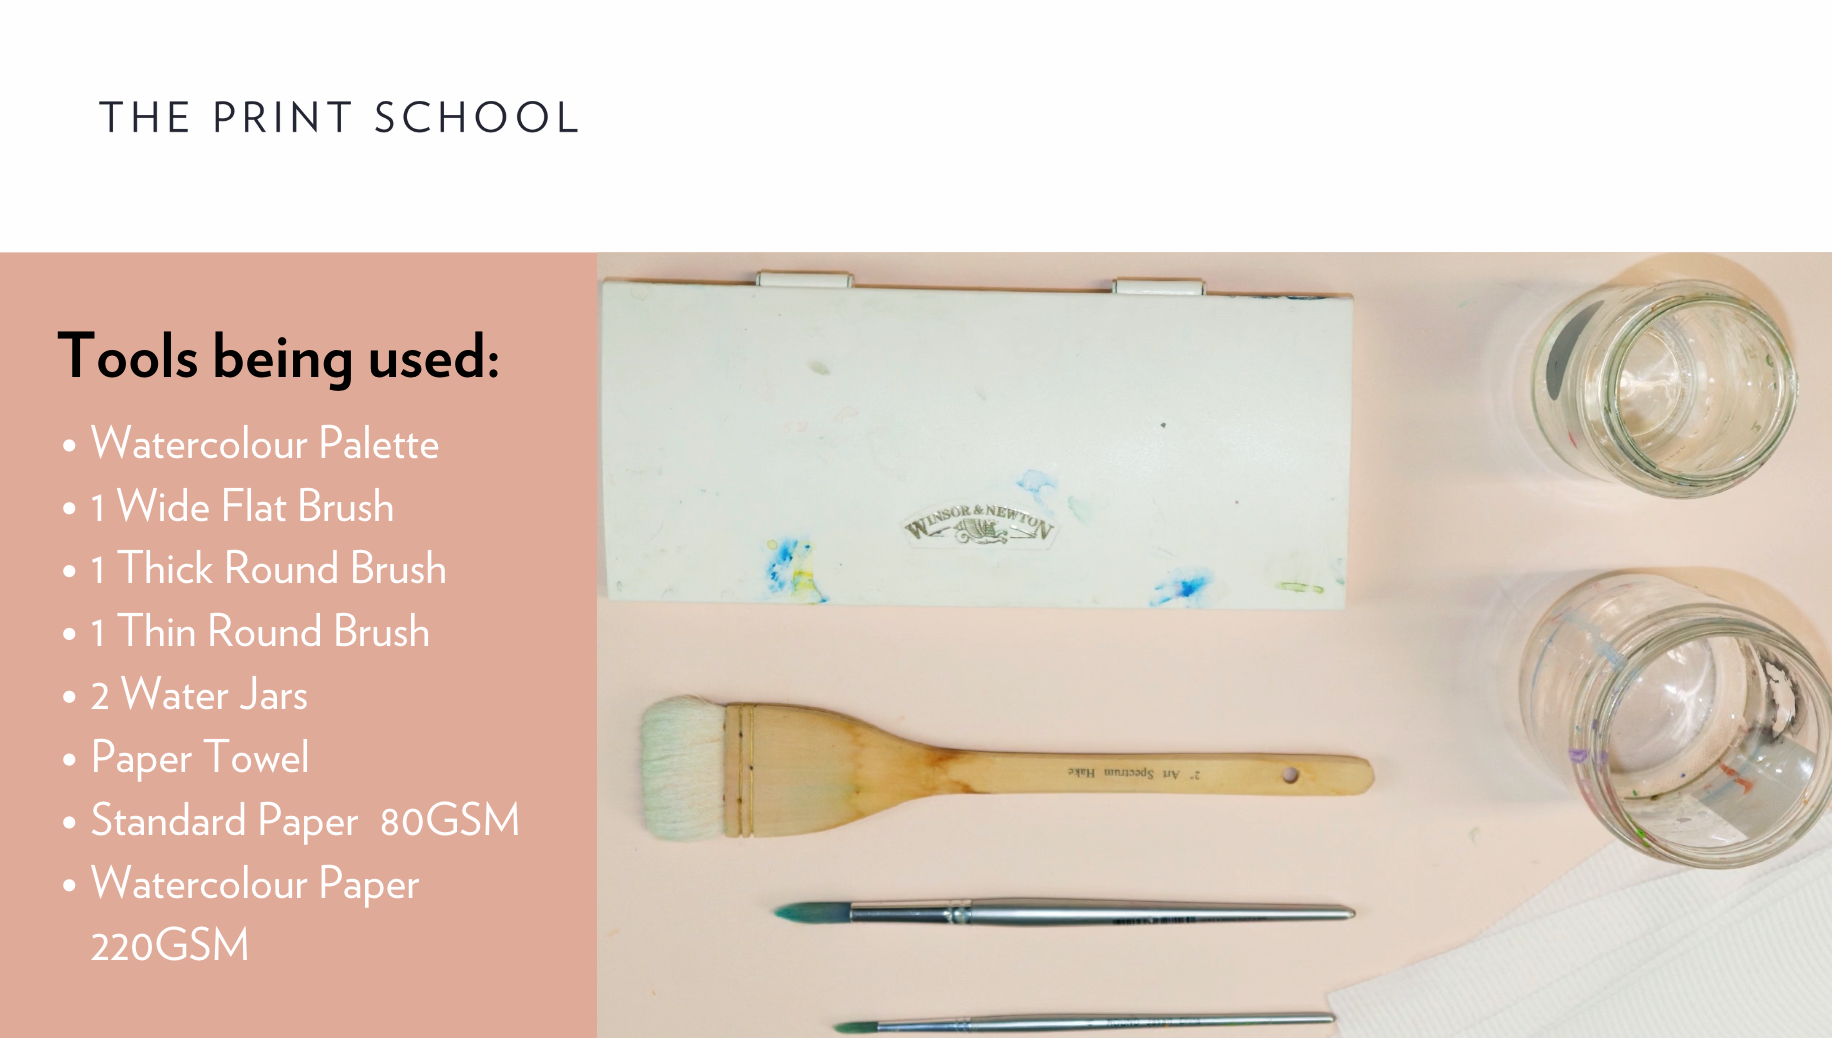
The tools you’ll need to use throughout the video include;
- A watercolor palette
- 1 Flat Brush
- 1 Thick Round Brush
- 1 Thin Round Brush
- 2 Water Jars
- Some paper Towels
- Standard Paper 80GSM
- And Watercolour Paper preferable 220GSM
Have you got everything? You do, great! Now let’s get started!
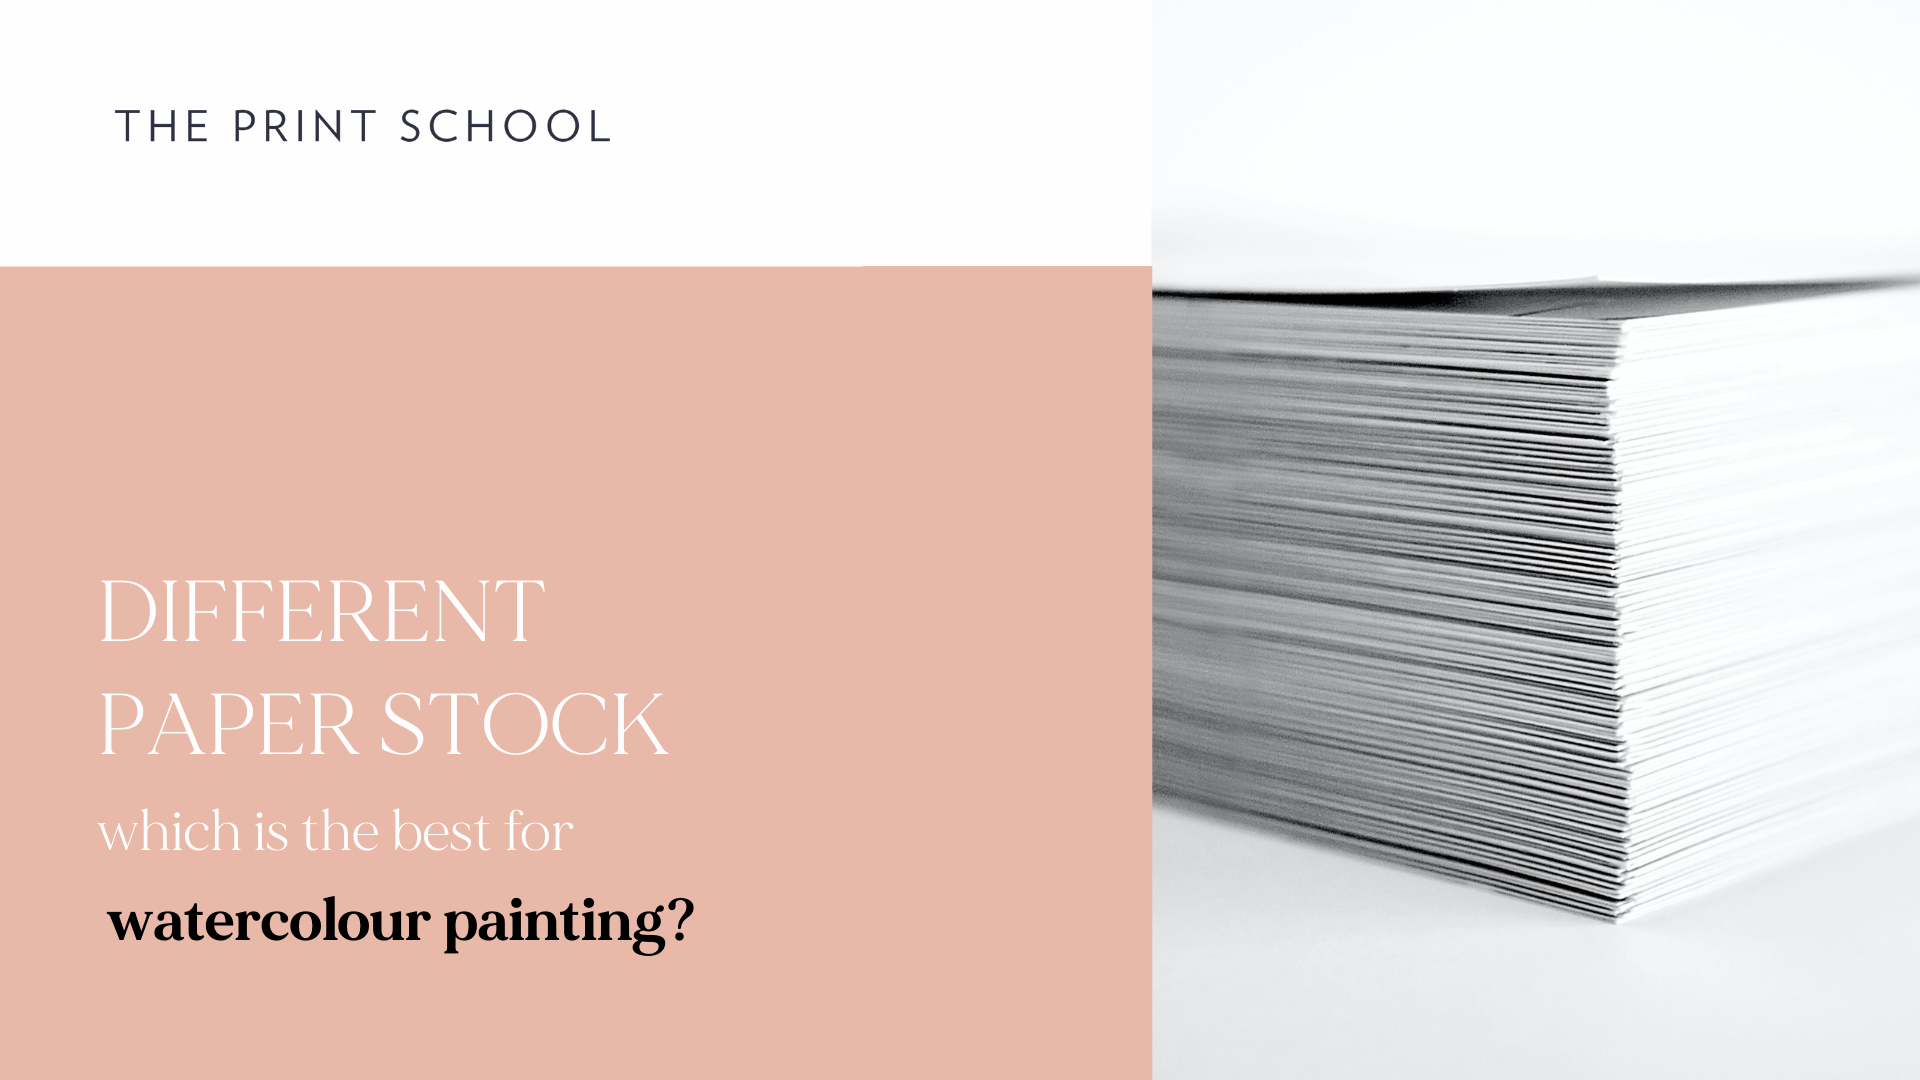
Different paper stock. Which is the best for watercolor painting?
There are so many different paper stock options available to purchase nowadays. However, with watercolor painting, your choice of paper can drastically change the outcome of your artwork.
Here Bec is painting on the standard reflex paper stock, 80GSM.
Can you see how the painted strokes are quickly breaking apart as she tries to go back over them with more water? The painted strokes seize up and lose shape as it dries. Making what you’ve painted look quite flat and lacking its initial vibrant color. This is because this paper stock isn’t right for watercolor painting.
Now watch Bec paint on Watercolor paper that is 220GSM.
You can notice how easily the paint blends and moves freely when more water is added because it’s not being absorbed immediately by the paper, as it should sit on the surface for a while before slowly soaking in and drying. You can easily see that the colors are brighter and clearer on the watercolor paper, rather than on the standard stock.
The best quality watercolor paper is made from 100% cotton and the weight should at least be 185GSM or higher. Note that the higher the weight the thick the paper. Good quality paper is more important than good quality paint, as it’s the paper that will enhance your work.
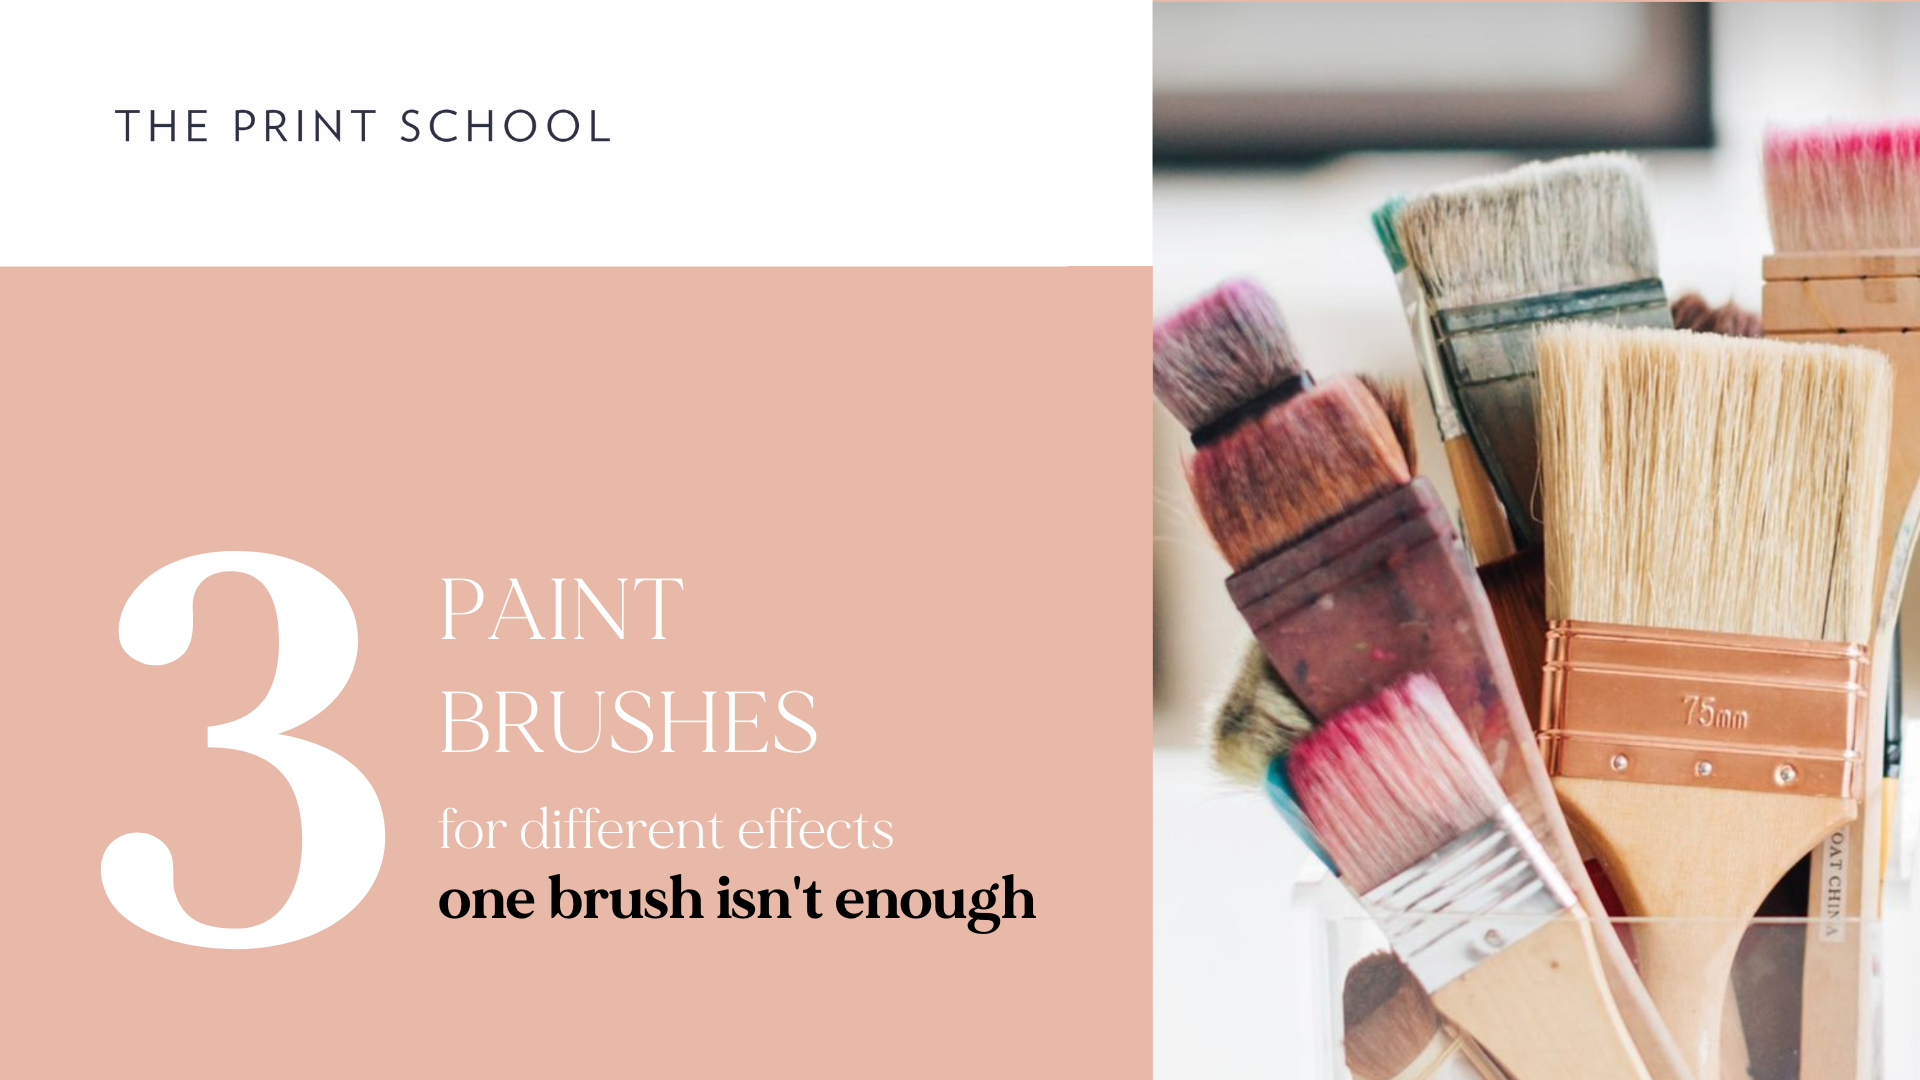
3 Paint brushes for different effects. One brush isn’t enough.
Bec is going to demonstrate the different paint strokes you can achieve by using 3 very different paint brushes. Starting with a Wide Flat Brush, a Round Thick Brush, and a Round Thin Brush.
Starting with the Flat Wide Brush, a very common brush to use. Perfect for painting large flats and putting down big washes of water or color, great for blending. Flats are also really great for making straight lines and edges.
Next is the Round Thick Brush. The Round brush is the most basic and important brush for watercolor painting, and you can paint anything with a good collection of round brushes. These brushes can work as two-in-one brushes because they have a pointy tip that can be used to create fine strokes and a wider belly where they are pressed down on the watercolour paper, which creates thicker strokes. This round brush in particular is a size 12 which is good for looser works.
Finally the Round Thin Brush. This much smaller and thinner round brush is a size 4, which is thin and is ideal for creating small elements and adding intricate details.
With time and practice, you’ll discover ways in which you can combine these brush strokes to create interesting results.
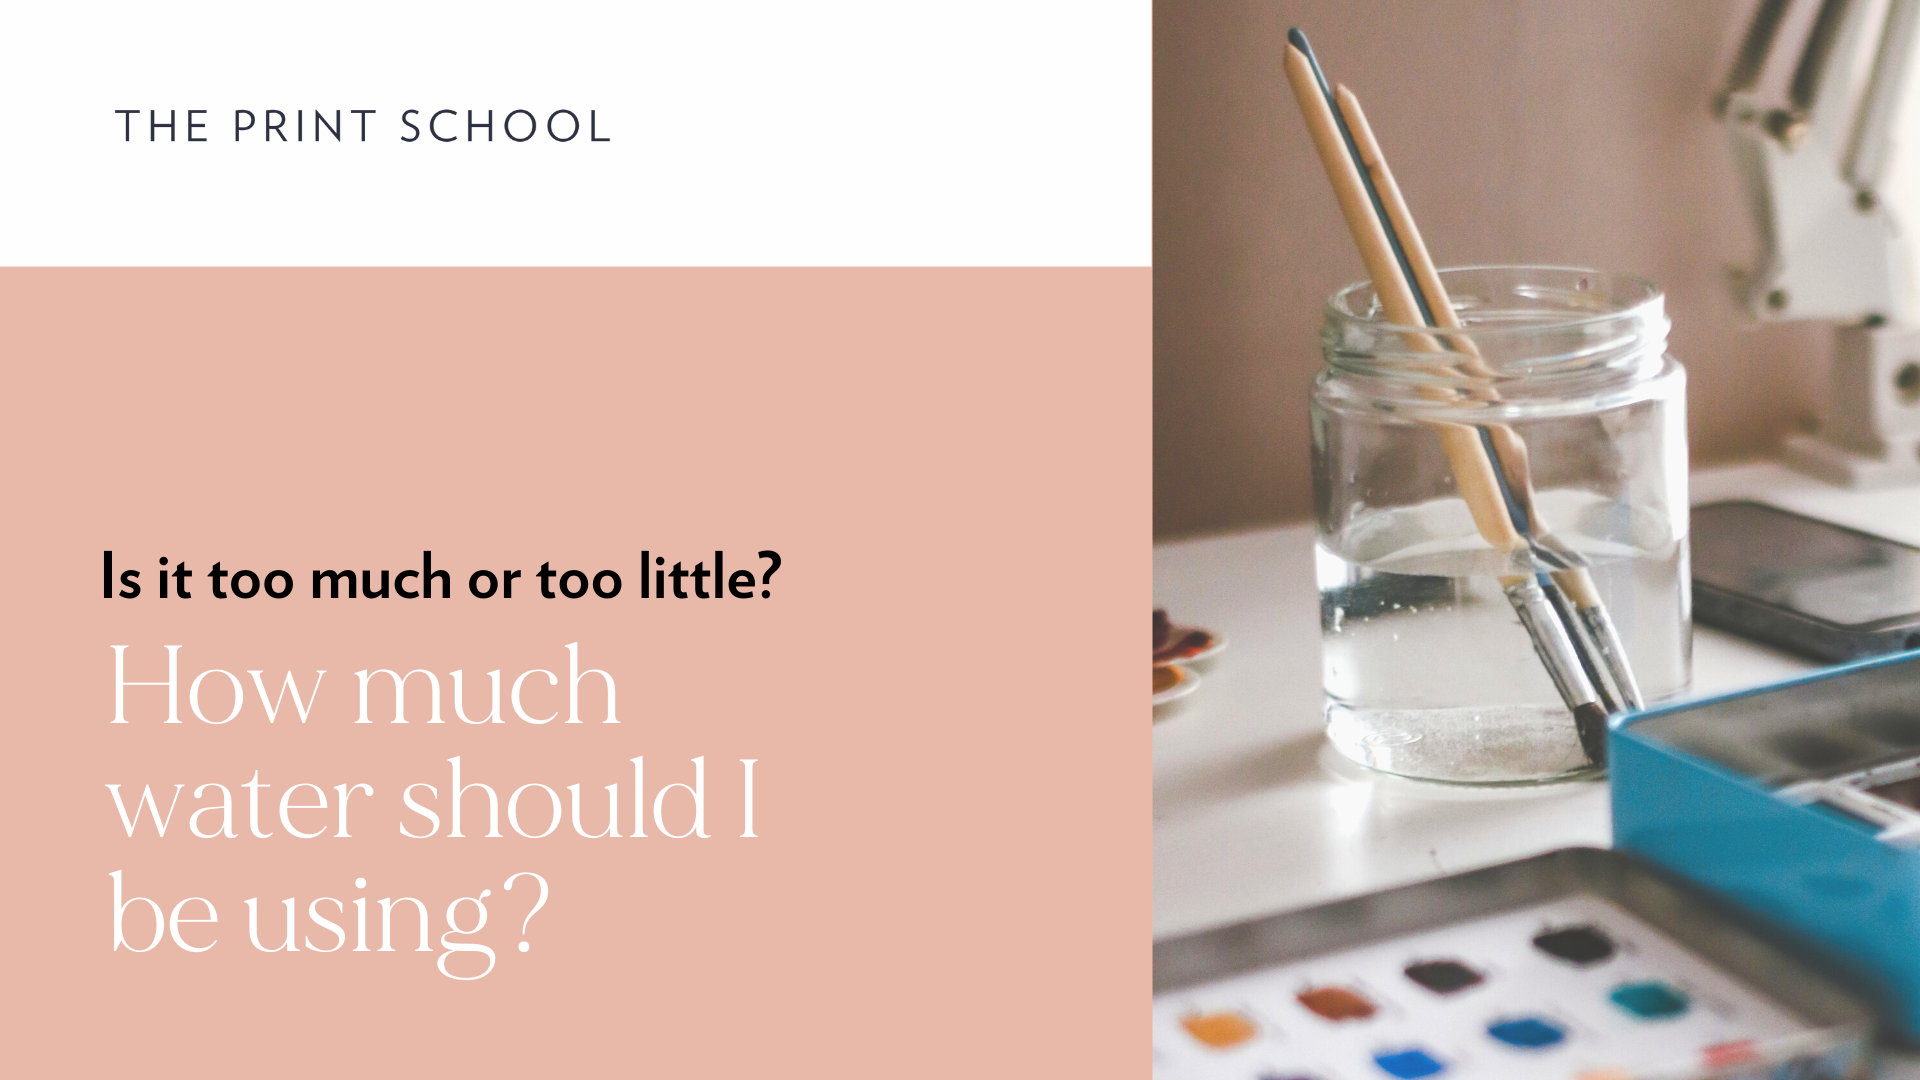
Is it too much or too little? How much water should I be using?
Using the right amount of water in your watercolour paintings is essential to understand and requires a lot of practice because how much water you use depends on what you’re envisioning for your painting.
To get the right consistency of water, use paper towels to dab the excess water off the brush.
Hot Tip: The reason why we have two jars of water available is so that we can, clean our brushes in one of them and then two, use the other one to judge how much water we want to use for our painting.
Now, how much water do you want to use?
If you want your strokes to be more watery, then use more water. Too much water may create large pools of water, which may leave your strokes pale and washed out, and leave your paper an unmanageable bog.
If you want to see more scratchy, textured strokes, then use less water. Too little water will have you painting similarly to how you use acrylic paints.

Blending Colours… What’s the trick?
There are plenty of different ways to blend watercolor paints together, as it differs for every artist, that’s almost an entire skill swap video in itself.
The simplest way of blending more than one color together is by painting wet on wet. Which is essentially using wet watercolors on wet paper. To use this technique, paint clean water onto the paper in the shape where you will blend your colors. For large washes, this can mean brushing water over the whole paper.
Then take your brush dipped in your wet watercolor paint. Lightly spread the color into the wet area of the paper. You will see that it begins to blend and diffuse the color. Next, place the second color on the other end of the wet pace and lightly brush it out. If it’s looking a little too patchy, use the brush to spread and even out the colors.
Thanks for watching, and hopefully, you’ve learnt something new about watercolor painting or have simply refreshed your skillset watching Bec paint. If you’d like to see more videos like this leave a comment below. Or click the link below and jump on over to The Print School’s online Beginner’s Tutorial: Watercolour Florals for Fabric Design and learn the steps to painting bold and beautiful watercolor motifs.
You might also like...
The Key to Drawing Better Blooms
5 Secrets for Selling Surface Print Patterns
Stay connected with news and updates!
Join our mailing list to receive the latest news and updates from our team.
Don't worry, your information will not be shared.
We hate SPAM. We will never sell your information, for any reason.
